Your cart (0)
Your cart is empty
Tax included and shipping calculated at checkout

Drawer menu
Tax included and shipping calculated at checkout

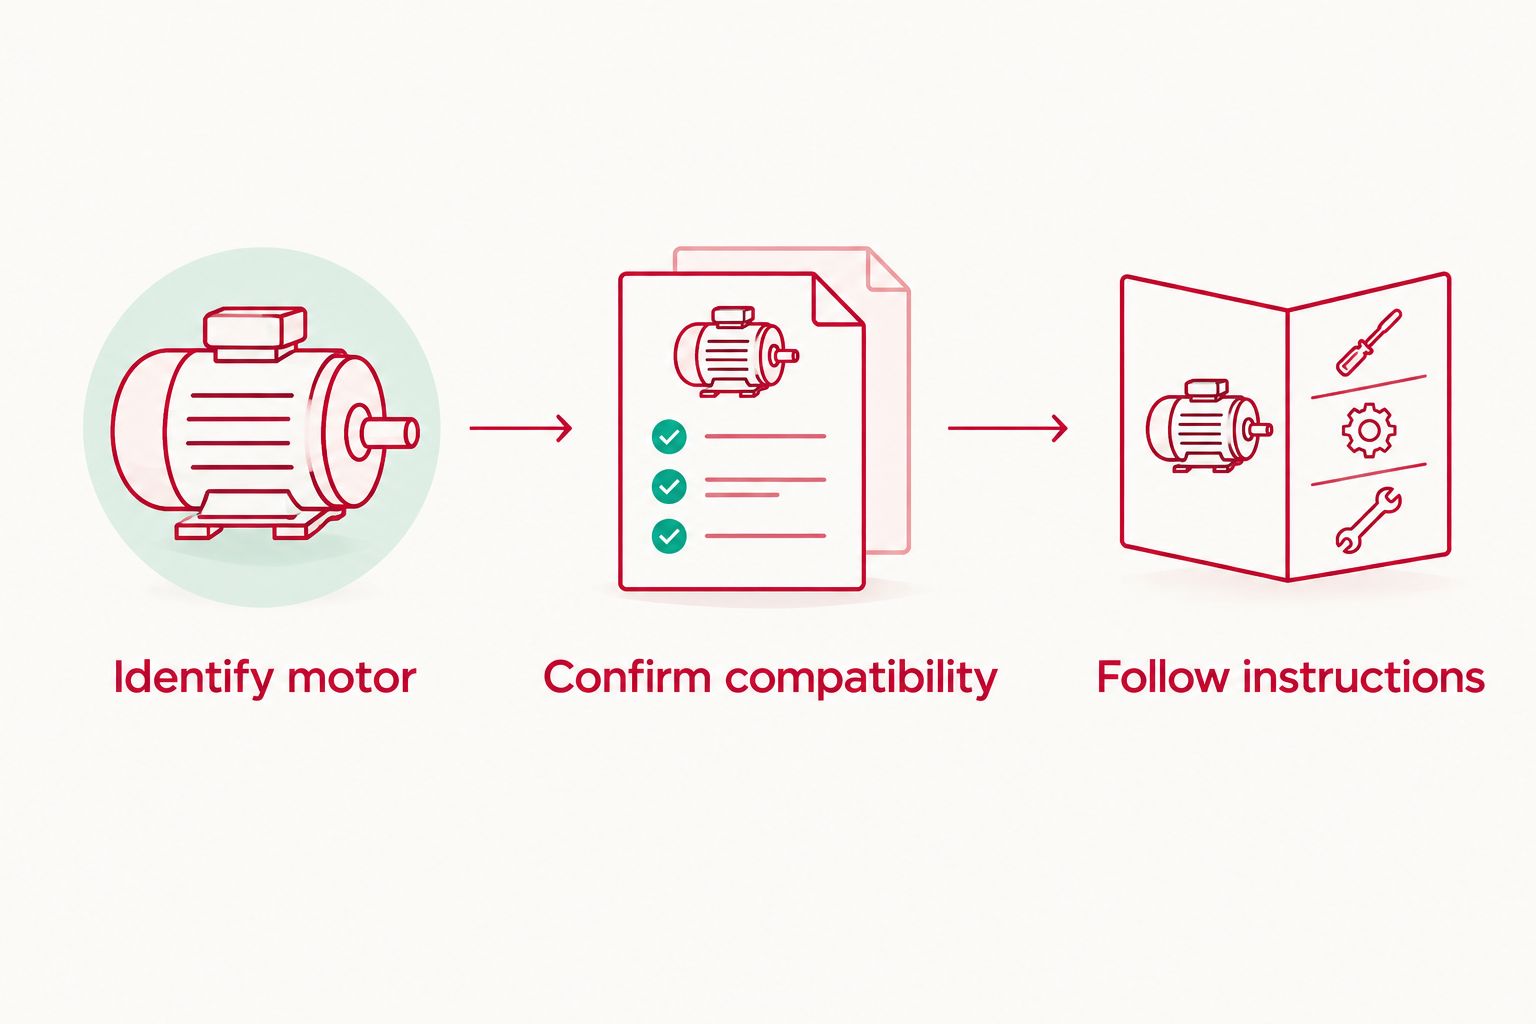
If raising your Roman shades means reaching behind furniture every day, a compatible wall control can put that movement within easy reach. To connect Hunter Douglas Roman shades to a wall switch, first identify the motor and control system, then follow its matching controller instructions; any fixed electrical wiring belongs with a licensed electrician.
A Roman shade describes how the fabric folds, not how the blind receives commands. The Hunter Douglas name alone does not identify the correct switch, wiring arrangement or pairing sequence.
Match the wall control to the installed motor before buying or connecting anything. A similar-looking controller is not proof of compatibility, and adding a wall plate does not turn a manually operated blind into a motorised one.
For a new room scheme, Material World offers custom-made window furnishings and in-home design consultations in Sydney and Orange. For an existing motorised blind, start with its original paperwork and the supplier responsible for that installation.
Gather these items before removing a cover or pressing programming buttons:
The easily missed gotcha is the difference between power and control. A shade connected to electrical power does not necessarily accept commands from a conventional wall switch. Do not connect switch wiring to a motor simply because both have electrical terminals.
Expected result: You can identify the shade's operating system and show that the proposed controller is supported. If you cannot, stop here rather than trying a generic pairing sequence.
For a useful enquiry, take 3 photos: the complete window, the existing controller and an accessible identification label. These give the supplier a clearer starting point without requiring you to dismantle anything.
Use the confirmed system documentation to distinguish these options. Neither is a universal replacement for the other.
| Control route | Best for | Practical advantage | Limitation |
|---|---|---|---|
| Compatible wireless wall control | An existing motor system documented to accept that controller | Provides a fixed control location without a control cable between the wall control and shade | Still requires the correct controller and model-specific setup |
| Compatible wired wall switch | A motor and control arrangement explicitly designed for wired switching | Provides a fixed operating point within the specified electrical design | Requires the correct wiring arrangement and a licensed electrician for fixed electrical work |
Choose by confirmed compatibility, not by the appearance of the switch. A wireless controller still depends on its specified power source, and a wired arrangement still needs the correct motor interface.
Expected result: The intended shade responds from the new wall position, stops normally and retains the controls you meant to keep.
Do not substitute an online button sequence for another motor generation or controller. A long press used for one function on one system can have a different purpose on another.
Expected result: The electrician verifies the electrical installation, and you can operate the shade as intended from the wall.
A convenient switch is one you can reach without stepping around a sofa or opening a door. Check the position with the room furnished, not just with an empty wall in front of you.
Expected result: The wall control is easy to reach, and the shade moves without catching on handles, furniture or adjacent furnishings.
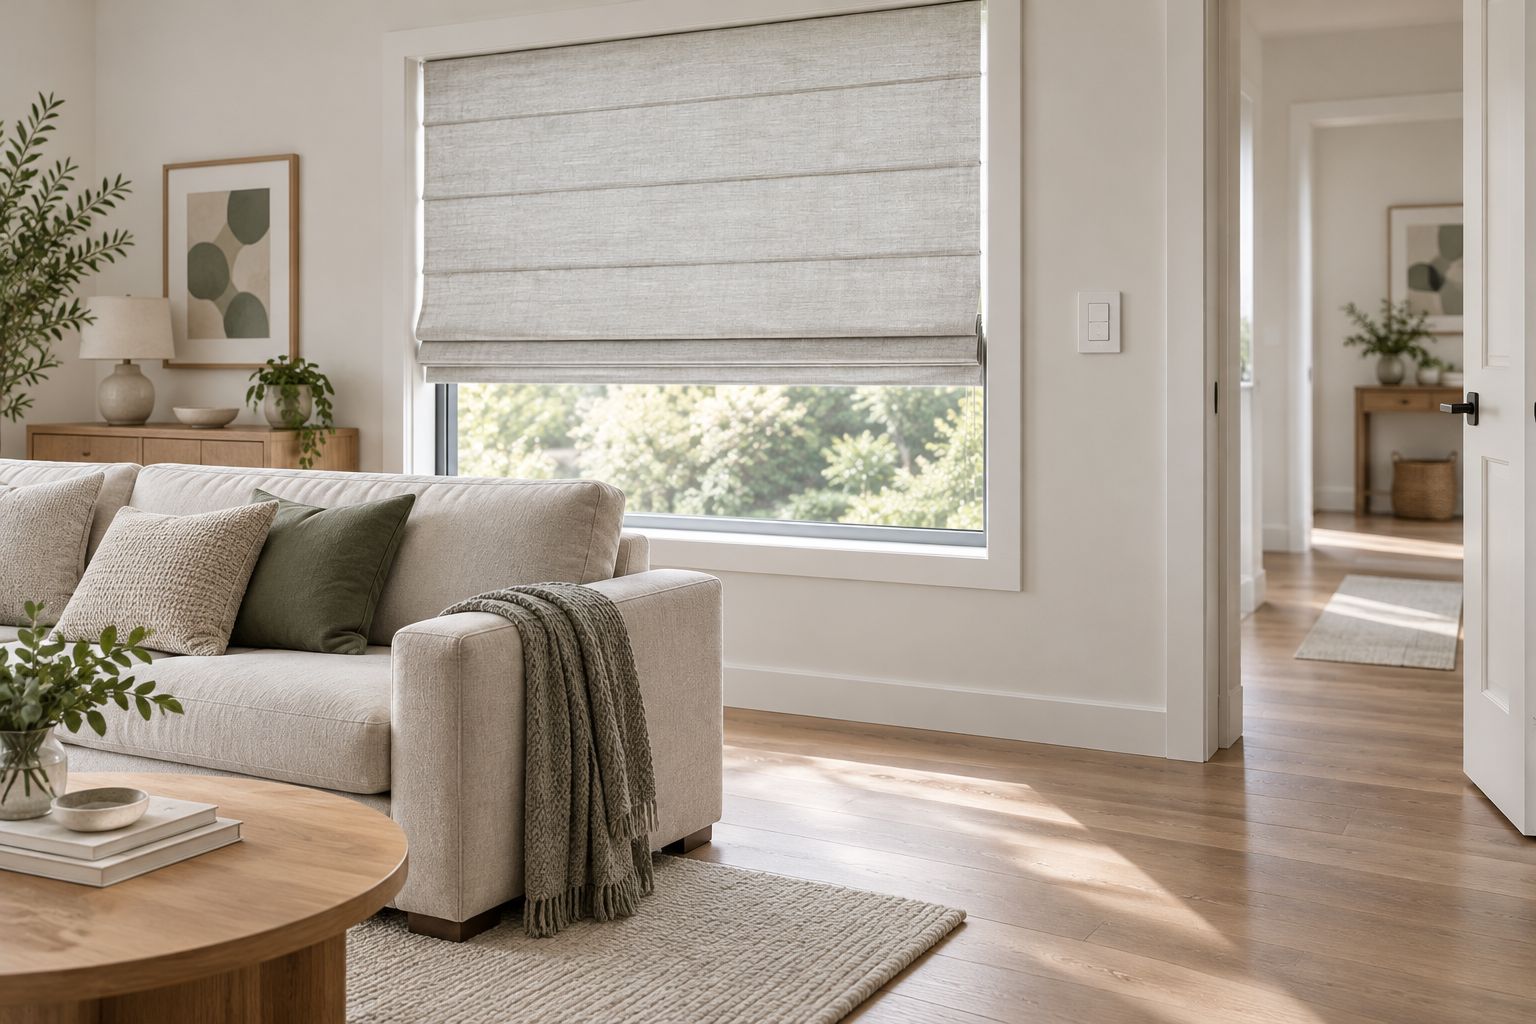
Group shades only when the documented control system supports it. This suits windows you normally open and close together, but it reduces flexibility if you regularly want different positions.
First, confirm that each shade works individually. Then follow the manufacturer's group-assignment instructions, add only the intended shades and test the group from the proposed wall position.
Check whether individual operation remains available and how to select it. For a bay window or adjoining rooms, decide on the grouping before setup rather than discovering afterwards that an inconvenient window moves with the rest.
A wall control solves access; it does not change the fabric's privacy or blockout properties. Consider those needs separately, especially when updating an existing bedroom or living room.
Material World offers a large premium fabric selection, genuinely custom-made workmanship rather than factory mass production, and more than 25 years of experience. An in-home consultation can bring the showroom to you so fabric, fit and room comfort are considered together. Confirm any motor and controller requirements separately before approving the specification.
Can I connect any Hunter Douglas Roman shade to a wall switch?
No. Wall-switch compatibility depends on the installed motor and control system, not simply the Hunter Douglas name or Roman shade style. Confirm the exact combination in the matching manufacturer instructions.
Can I use a normal light switch for my Roman shades?
Do not use a conventional light switch unless the motor documentation explicitly specifies that arrangement. Have a licensed electrician confirm and complete any fixed electrical wiring.
Does a wireless wall control need wiring to the blind?
A compatible wireless wall control sends commands without a control cable to the blind. The control and shade still need their specified power sources, and the combination must be supported.
Can I add a wall control without losing my existing remote?
Check the system's instructions for adding an additional controller while retaining the existing one. Test both controls afterwards, and avoid replacement or reset procedures unless those are specifically required.
Can one wall switch operate several Roman shades?
One wall control can operate several shades only when the installed system supports the required grouping. Confirm that capability and test individual operation before setting up a group.
Do I need to reset the blind before pairing a wall control?
Reset the blind only when its matching instructions require it. A factory reset can remove settings or controller assignments, creating more setup work.
Can a wall switch make a manual Roman blind motorised?
No. A wall switch alone cannot motorise a manual Roman blind. Ask the supplier to assess whether a suitable motorised conversion or replacement is appropriate.
Choose the operating system before the wall plate. That small change in order prevents you from planning the room around a controller the blind cannot use.
For new custom-made blinds in Sydney or Orange, contact Material World to arrange an in-home consultation and free quote. Bring your existing control details, and let us help you choose a solution tailored to your home.


